What color is track? The flippant answer is: it depends. More accurately, it depends on the locale, the volume and type of traffic; the age and a host of factors. The truth is that track isn’t a uniform single color but is comprised of multiple tones. I confess now that the color of track is an elusive target for me, one that I’m still chasing.
It easy to fall back on formulaic approaches because like ballast, we’ve been given limited instruction on how track weathers. We carry around generic ideas of rail brown, grimy black and mud colors thanks to the standard established by the old Floquil line of model paint. Even though real track exhibits more nuance and we have more choice with colors, we still cling to old habits like glue.
In my 2011 book Detailing Track I outlined an approach to coloring and weathering the track using a witch’s brew of water and solvent-based model paint, wood stain and dry pigments. There was little rhyme or reason to the method; I just employed a throw-the-kitchen-sink-at-it process that produced random results. While I was satisfied at that time, there was certainly room for improvement.

I was satisfied with the color of my track but always felt there was room to improve.
A huge factor with the color of track is that indoor lighting is not even close to natural sunlight. Colors we see outdoors will look dull and muddy under our common layout lighting sources. Even full spectrum “Daylight” tubes can’t match the intensity of sunlight and, with a large space to illuminate, cost is a significant factor. The solution is to modify the color to compensate for the lower light. This takes practice and as with everything else, it’s a judgment call of personal choice and practicality.

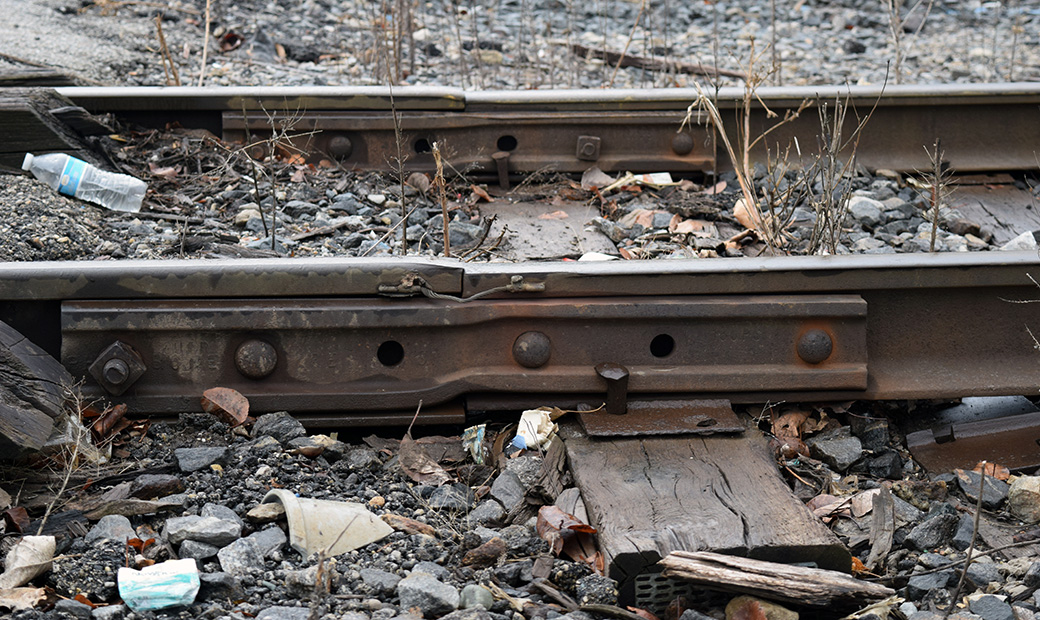
Mainline track has an overall color with variations created by local conditions, cargo spillage and the like. A light rain fell as I shot this photo creating the darker area along the base of the rails and tieplates.
The color of mainline track is reasonably straightforward (photo above). New rail may have a light coating of rust or mill scale, giving it a base color ranging from light orange to a gray or brown. Over time an oily film from diesel locomotive traction motors will discolor the ties, rails and ballast. Ties with a fresh coat of creosote or other preservative will be a blackish brown color that lightens as this coating fades and the exposed wood oxidizes. Next to the base of the rails the ballast and ties may have a rust stain from particles washed off by rainwater. In dry conditions, dust and dirt kicked up by passing trains will collect on horizontal surfaces, while areas where locos stand idle will see more pronounced oil and grease accumulation. As a result of all this, mainline track will exhibit a fairly consistent color with localized variations.
None of this however, is news to experienced modelers. So why we don’t see more examples of nuanced weathering and track colors? I speculate that pragmatic thinking rules the day like it does for so much of the hobby. With a basement full of track seen from the typical helicopter viewpoint, subtlety isn’t worth the effort, especially if track is only a means to a different end like operation.
The choice of modeling scale does factor in though. Since moving to quarter-inch scale with its close-up viewpoint, I’ve become more aware of subtle changes in texture and color. Even in the larger scale such details require careful handling. It’s easy to turn a model into a caricature.
Accept for the fresh tie, this color is typical of the track on the former layout. I went over sections many times to create variations in color, ballast texture and such. Where needed, I removed track to open up a scene, thus giving me opportunities to model abandoned trackage and right-of-way.
Class is now in session.
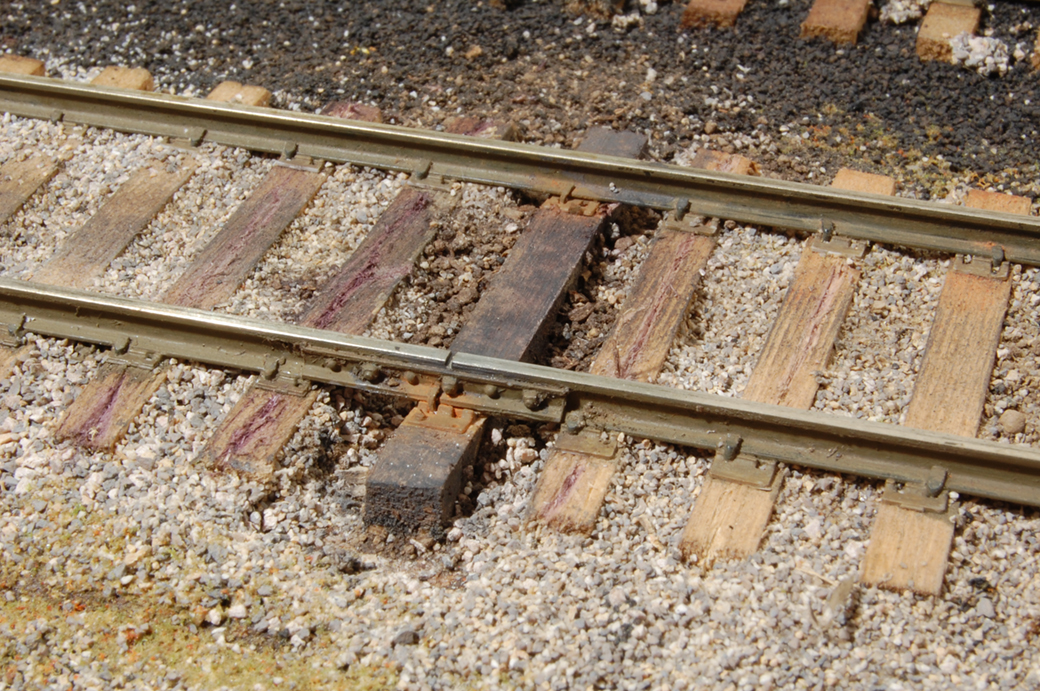
The atmosphere conveyed in this photo is what I’m after with my track modeling. Beyond the compromise joint bar connecting two different weights of rail, there is so much to study and learn from. Observe that the end of the heavier rail through the adjacent grade crossing is not supported by a tie. Notice how many shades of brown are present and how the rain water alters the color. Look at the color and texture of the ties, the ballast and how foreign matter like the asphalt crumbs and dead weed stalks are mixed in. Take note of the amount of trash strewn about and, did you spot the loose tieplate under the rail to the right of the tie? This easily overlooked little area is a classroom in and of itself.
Modeling Track
I wanted an overall color with variations for the track on the layout. To get there, I didn’t hesitate to try new techniques such as rubbing finished track with actual dirt. I worked it in hard on the ballast and ties with my fingers and vacuumed up anything loose. Of all the things I did this produced the most realism to my eyes, as it made everything dead flat and dusty looking. Unless you recreating a wet surface or polished metal, shiny surfaces often detract from a convincing representation in miniature. I used the same dirt as a base covering for the surrounding scenery and adding it to the track helped knit the two together visually. Dry powdered pigment like chalk dust or specialty weathering powders will do the same thing.
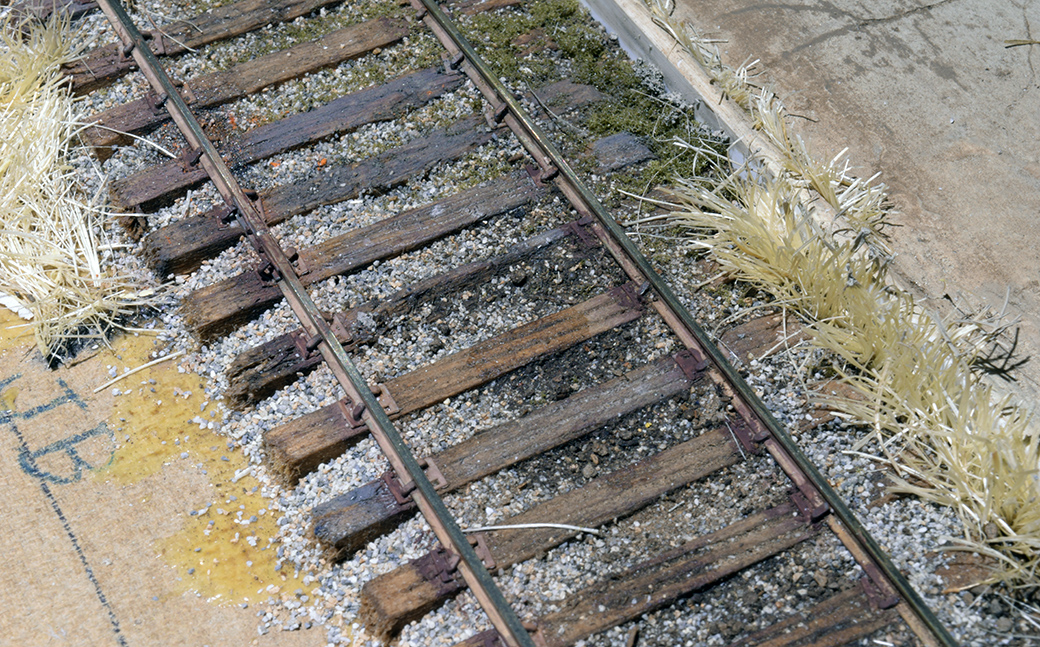
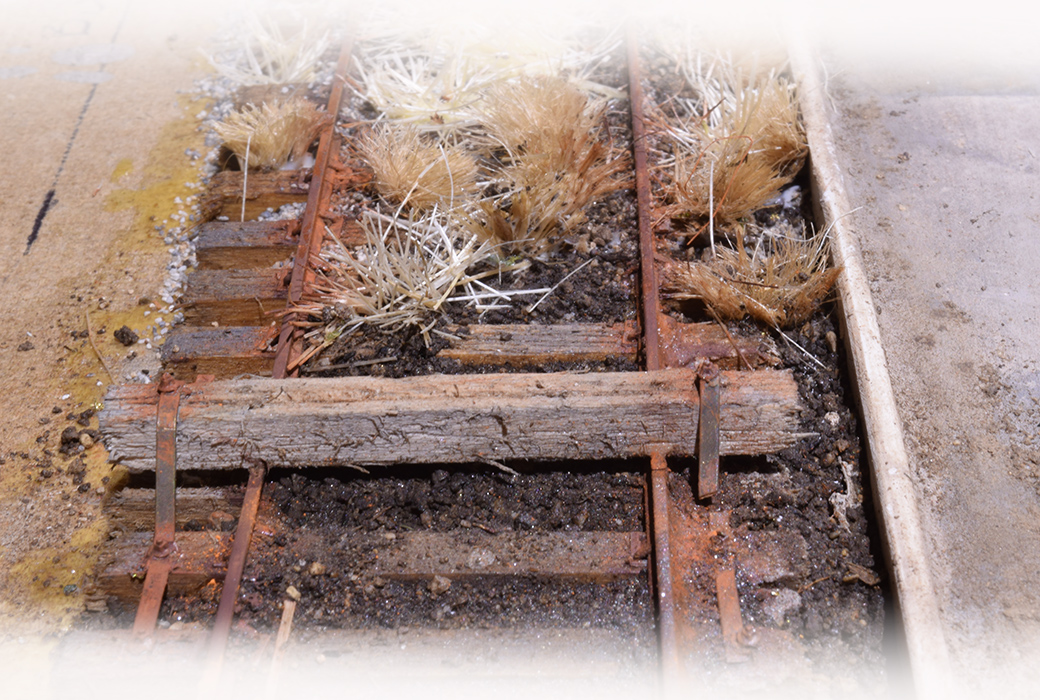
For the cameo project I decided to experiment with acrylic washes on ties covered with the Minwax stain (top photo) and the raw basswood of the car stop. More practice is required but I like the results.
The color of weathered wood is my Achilles Heel and I’ve tried a number of products and techniques and have yet to produce the subtle coloring and variation I want. This is especially important for modeling derelict secondary track. In playing around with track for the cameo project, I tried building up layers of highly diluted acrylic washes and this technique looks promising. The washes have to be very dilute such as a nine to one water to paint ratio. As outlined in this post, it’s easy to build up nice color transitions but I admit it’s a time consuming process of letting a layer dry before adding the next.
For the rails and tieplates, the time-honored artist’s brush and model paint still works. I prefer Tamiya acrylics, as they come in a wide range of appropriate colors. I also prefer to make my own weathering powders from artist pastels and ordinary dirt I sifted and dried. I may be a track geek but I’m pragmatic too. If it works, I’m for it.
Part Four wraps this up with a look at turnouts.
Regards,
Mike
0 Comments