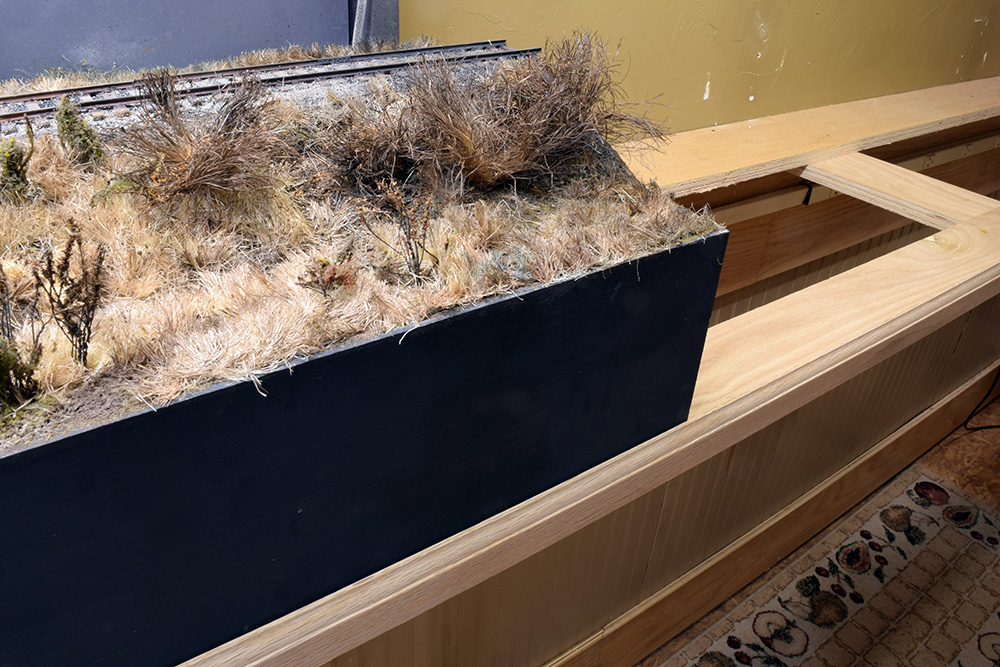
In the time I’ve been building the Mill Road cameo, I’ve become a fan of separating the layout from the support structure. There are many advantages in doing this that fit well with my evolving philosophy of the craft.
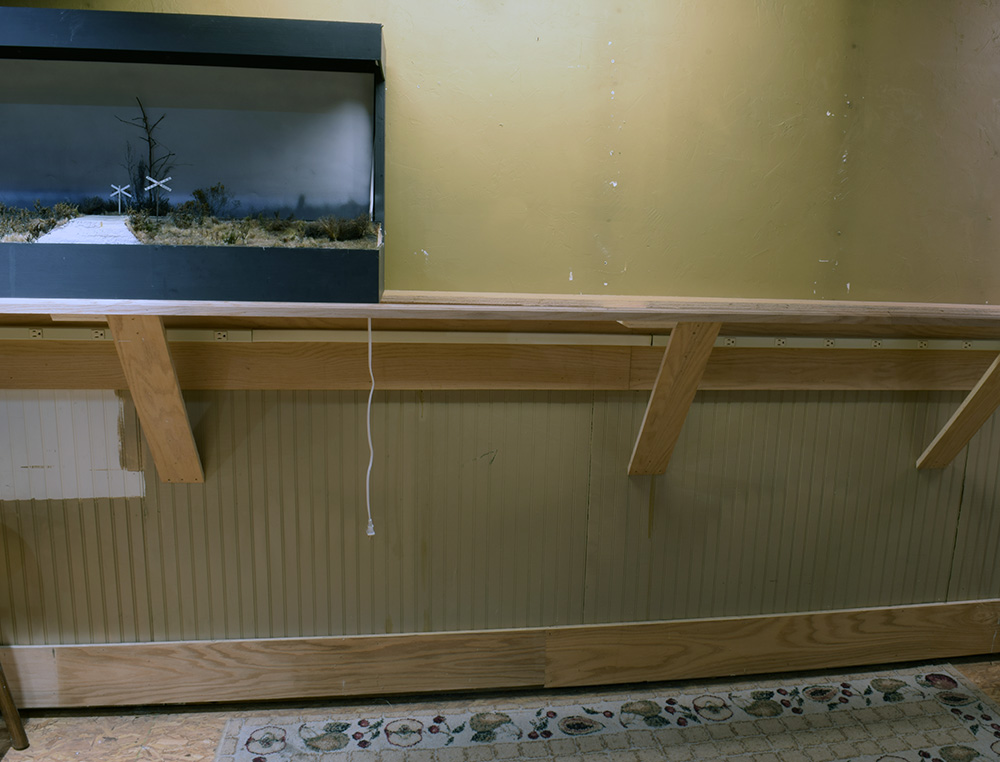
You may recall from an early post about the project that I planned to hang the cameo from a French cleat system attached to the wall. While the idea worked well and gave a clean appearance, the cameo was stressed at the points where the mating cleats were attached to the rear panel. Nothing bad ever happened but I had a bit of concern about the situation.
Secondly, my original vision was to build the staging modules with the same C shaped framework as the scenicked portion. It didn’t take me long to realize how silly that would have been. I wanted a simpler design like a plain cassette that clips on to each end, but how to support them without a back panel? With that question in mind, the more I looked at the hanging rail, the more visually distracting it grew in my eyes.
I’ve been following Chris Mears’ design thinking for a small layout he’s planning and liked his notion of a self-contained module that sits on a shelf or countertop. Why not consider something similar for Mill Road?
Regards,
Mike
Related Posts
Nice. It accomplishes your goals of having the layout in the place where you want it, display it as the work of art that it is and not lose the functionality of the room.
Thanks Jeff. Yes to all of the above.
Mike
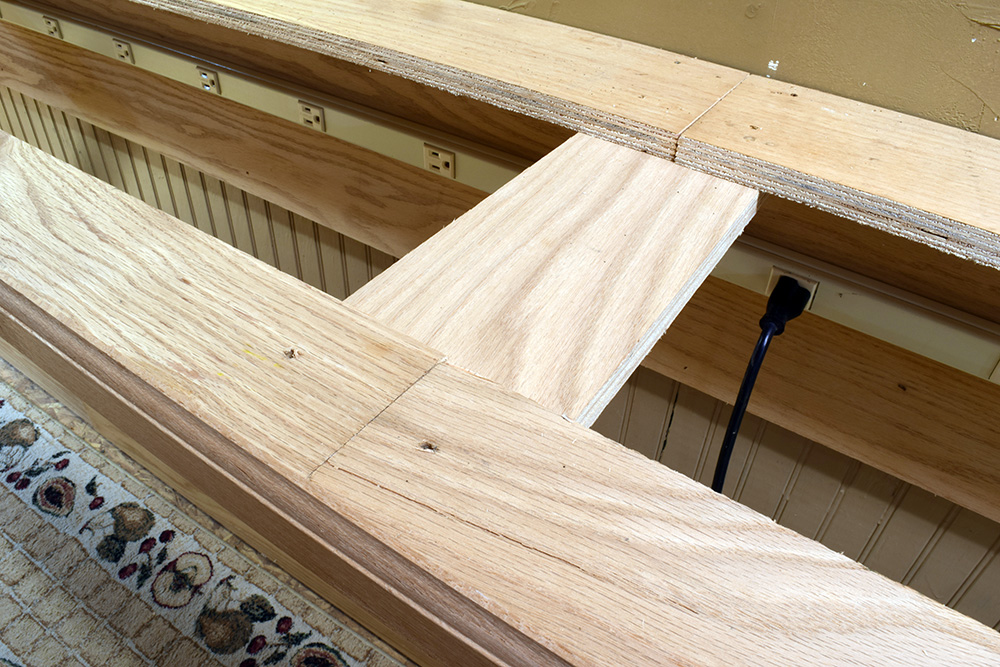
I like the provision of a power strip. Now to add a similar bus for the DCC?
That power strip threaded through the benchwork is brilliant.
We do tend to view benchwork as one continuous item that is both the support structure and also the basic form of the layout. These two functions demand different design responses and even the scale of each structural element is different. “Why must we try to force one to suit both?” For me, it’s easier to propose solutions that suit their needs separately- what works for the frame and legs isn’t the same as the finer framework required for subroadbed or scenery substructure.
Look at how separating these two projects has encouraged your pursuit of this project. It appears you had a clear vision for the design of the layout frame and were able to execute that and that means the project is well into development. The supporting structure now evolves in response but without delaying anything. I feel like this approach is focussed on moving forward with the known aspects while the lesser envisioned ones are further contemplated and that feels both healthier and more productive than our typical, rigidly linear approach that sequentially steps through the list: track plan > benchwork > track > wire > (life happens) …
This blog remains testimony not only to the missing conversation but the missing contemplation. Thank you.
Chris
Chris, you provide an interesting insight by breaking down that building sequence. Given the artistic nature of this creative hobby, this is the only way to provide a back and forth possibility to experiment, redo, reframe and rework how we see and make things. It’s fascinating how we have become slave of extremely mundane elements by rigidly sequencing them together.
It’s always interesting to me what people will zero in on. The power strip was already in place for years before I decided to build a layout on this wall again.
Mike