
You Know Where This Post Is Going
If your gut says there’s a better way of doing something, there probably is. If your gut says you should redo a project, you probably should. After writing of my progress on the model last week, the next day I started over on the warehouse. I mentioned this to a friend during an email exchange and he expressed his surprise at my decision, as he felt the original model looked fine to his eyes.
It was a good beginning. However, as I mentioned in the previous post, there were some errors in the substructure. None of them were catastrophic, but one would have fundamentally altered the appearance of the model. The others also would have impacted the final quality of the model. Fixing them would have meant time spent pursuing questionable outcomes.
To review my goal for this project, the warehouse will be part of a display that highlights the potential of quarter-inch scale modeling and P48 standards. As a static display, it will receive a lot of close-up scrutiny and settling for half-baked compromises on my workmanship is without excuse. The standard of work at most RPM meets is very high and if I’m not willing to do my best, then why bother at all?
Two recent articles in the Model Railway Journal also inspired me. I revisited Peter Johnson’s fine work of building the Downing Maltings in 4mm scale from issue No. 245. His care in reproducing the intricate details of these buildings and his fine craftsmanship in the smaller scale inspired me to do better. The same with Karl Crowthers meticulous work on the stone retaining walls for his Hebble Vale Goods EM layout in the current issue, No. 247.
For my second effort, I chose 40-mil styrene sheet for the substructure. Styrene would be somewhat lighter than wood and bonding the materials is not an issue as it was with gluing plastic brick sheets to the wood and hardboard of the first attempt. I won’t go into a blow-by-blow description of cutting and gluing styrene but will outline the choices I made this time.
For ease of construction, I made the building in two sections so I could work at my bench. Even then each section required almost the entire work area and things became cluttered with scraps, tools and whatnot quickly, which irritates me to no end. I’m fighting my tendency to rush things every step of the way because of the mess. This is an enlightening realization and I have to make a deliberate effort to focus on the work and not the mess.

I chose to apply full sheets of brick on the first floor and cut the door openings out rather than piece strips of brick material around them. Cutting the doors from the sheets allow the brick courses to flow properly around them without disrupting the pattern. The first build had consistent pattern mismatches in the bricks, which my eye was always drawn to. Others might not have noticed (who am I kidding?) but I did. There is no inset between the pilasters on this floor, so I kept the brick surface in one plane to correct the mistake I made on the first build. I also took greater care in counting and cutting the bricks and pilaster backing this time. The first build was a bit sloppy in this area, resulting in a poor appearance and extra work to fix it.

Using full sheets meant dealing with splices between them and here I used methods outline by Karl in handling similar situations in his retaining walls. Rather than butt the two sheets and have a straight seam to deal with, I trimmed around individual bricks to break up the line. This extra effort paid off in a greatly improved appearance to the wall, especially important where the two sections will join to complete the building. Once the final finishes are applied these seams will hardly be noticeable.
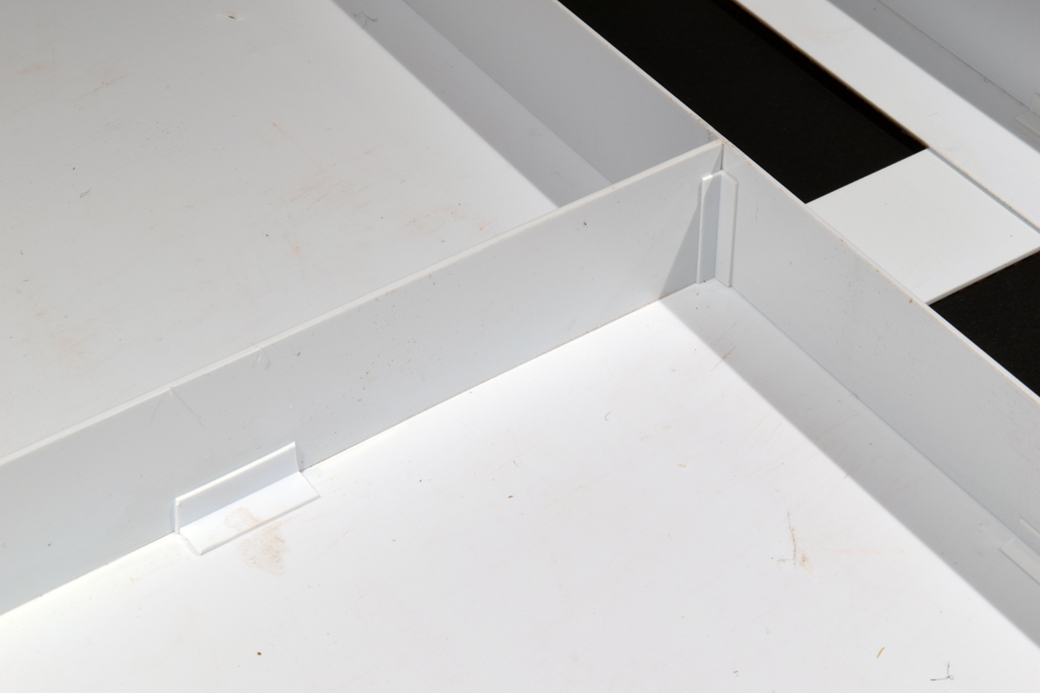
This is still a very large model and requires plenty of bracing. Cutting numerous plastic strips from the 40-mil sheets was time consuming but I treated it as its own project. Gluing 40-mil plastic on edge is cumbersome, so I’m including square strips and pieces of 90-degree angle stock for glue blocks to assist in holding the 40-mil bracing strips in place. When all is said and done, things should be stable.
I’ve made excellent progress over the last week with the second build and I’m happy with how it’s turning out. The question to answer is was it worth taking the time to start over?
For me it was. The extra work involved in dealing with the compromises of the first build would equal the time spent on a restart, basically making that factor a non-issue. The ability to build a more faithful model with cleaner workmanship cinched the decision. I’m glad I did it and don’t consider the time wasted at all.
Regards,
Mike
Mike,
What I like about the recent posts is that you are putting into practice what you have said: do not be afraid to realise that you need to rip up something which is not right, or not good enough.
I find your honesty in this refreshing.
Simon
Simon,
Thank you for that sentiment. Much has been written on this blog and others about how to make the work more accessible to people.
I believe we do ourselves and others a disservice with the emphasis on making things seem effortless and simple. Nothing worthwhile ever is. Our models don’t just magically appear. They are the result of making many mistakes and learning from them. That one can approach such work with a systematic process seems to be a lost concept. Or, as it’s been suggested to me on Facebook, such a concept was never part of the culture in the first place.
If true, it’s our loss, yet we can both cite many examples of what can be achieved if one desires and keeps at it.
Mike