Invariably, the obvious solution to a problem shows up after you’ve tried plenty of other more convoluted ways.
Because they are in separate sections, getting the center sills on the car level and straight from one end to the other was harder than I imagined. I tried to eyeball the parts in place but failed miserably as one or both would be out of level or alignment from end to end. Soldering and unsoldering them multiple times proved fatal as they were eventually ruined in the process. Then, this idea popped up out of nowhere one night. The next day I remade the sills and it was off to the races.


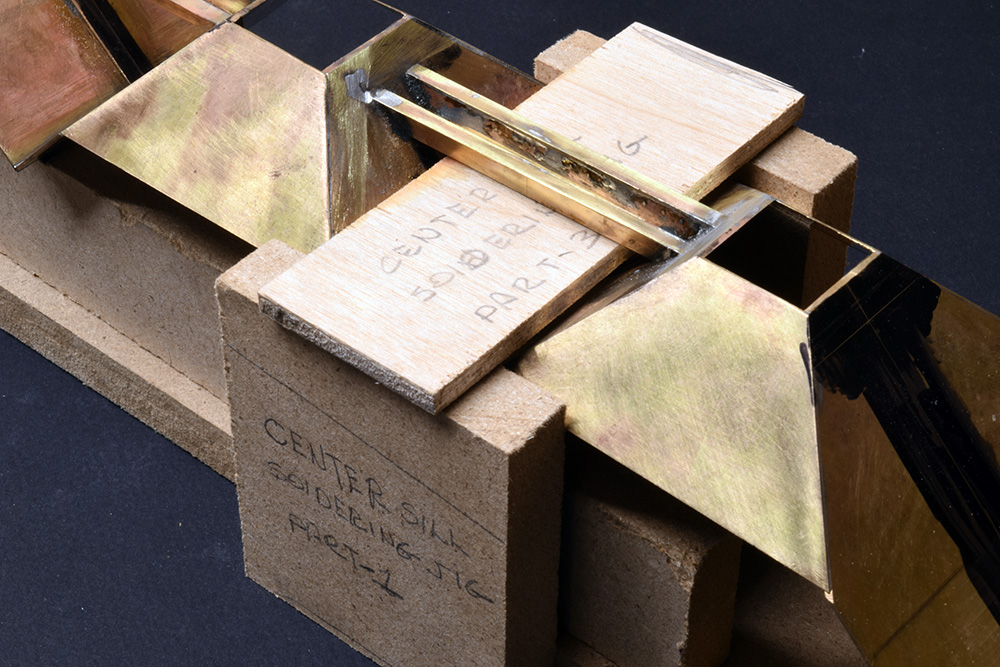
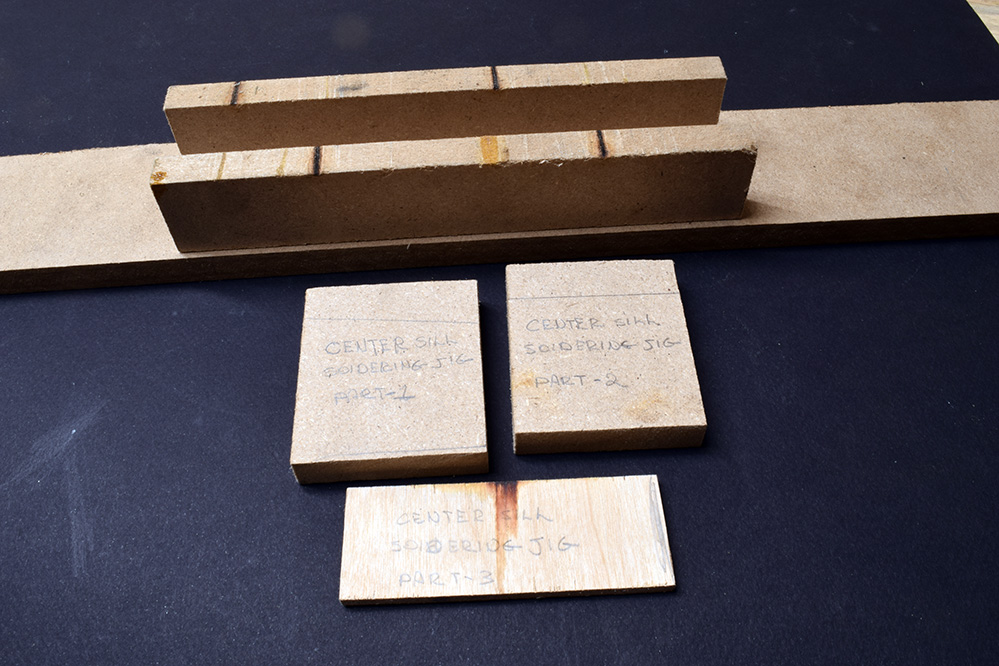
I used the existing fixture at the top of the photo above to hold the underframe as you’ve seen in previous posts, and then measured where the bottom of the center sill wanted to be. I made the two side supports from 1/2 inch MDF, while the bridge piece is 3/16 inch thick plywood. I laid out the center line on the car and made witness marks on both sides to position the sills. While not 100 percent perfect, it worked marvelously compared to prior attempts at eyeballing the pieces in place.
After the sills are soldered, I just slide the plywood piece out and reposition the jig for the next section. The idea is so freaking obvious when you think about it.
Like any creative practice, modelbuilding is a journey of becoming a different person in terms of your knowledge and confidence. Part of the joy in a build like this is the discovery of solutions to nagging problems. Once you see an idea, it’s yours for life.
Regards,
Mike
0 Comments