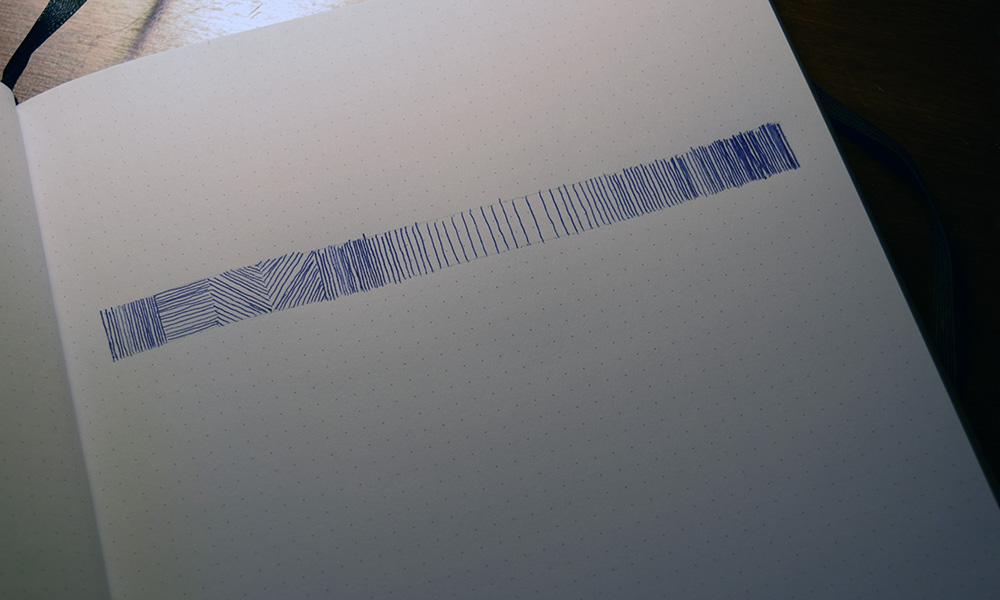
When I was actively drawing in pen & ink, I used to do practice exercises like the one above. The purpose was to train my eye and develop the control and muscle memory in my hands. Like the exercises music students do to train their ears and eye/hand coordination for the instrument they’ve chosen, creating a set of consistent lines and tones is a foundation skill for doing more complex work with the pen.
In looking at the model so far, I determined that inaccurate measurements and layouts were a prime source of the errors I outlined in this post. This is something I can fix by practicing on scrap material to develop more precision in my working methods.
In the past I’ve used a mixture of techniques to mark and layout parts. After some study, I decided to exclusively use dividers or a caliper to take measurements from my scale rule for marking off the dimensions on the stock. Both tools have advantages and drawbacks. For general dimensions, I lean heavily toward the dividers as it is much easier to locate the sharp points to the exact dimension needed, and then transfer that spacing to the material. Trying to mark the stock directly from the rule creates all manner of variables that will negatively impact the results. If multiple locations are needed, such as equally spaced holes for rivets, it’s easy to set the dividers and step off the points.
The caliper is great for marking off lines from the factory or other prepared true edge of a sheet (see the fourth photo below). I often do this to cut thick sheets into strips of equal width. I rough cut them slightly oversized, so I can true up the raw edge and bring the strip to exact dimension with hand files or the milling machine.
For greater visual contrast and clarity, I put a black coating on the brass with a Sharpie brand marker as a shiny scribed line against the black background is easier to see.
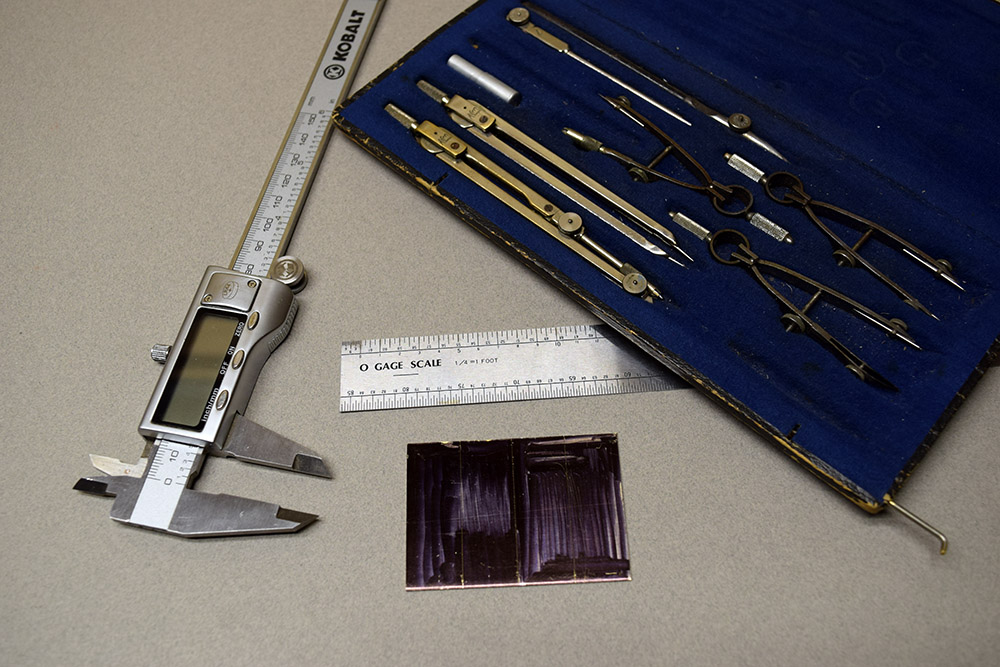
Good tools make life easier. A gift from my dad, I’ve had this drafting set since I was 14 years old. The caliper is an inexpensive one from Lowe’s. Any scale rule will do but I like this one because the zero mark is inset from the edge, making it simpler to take accurate measurements. A scrap of brass sheet makes a low stress practice piece.
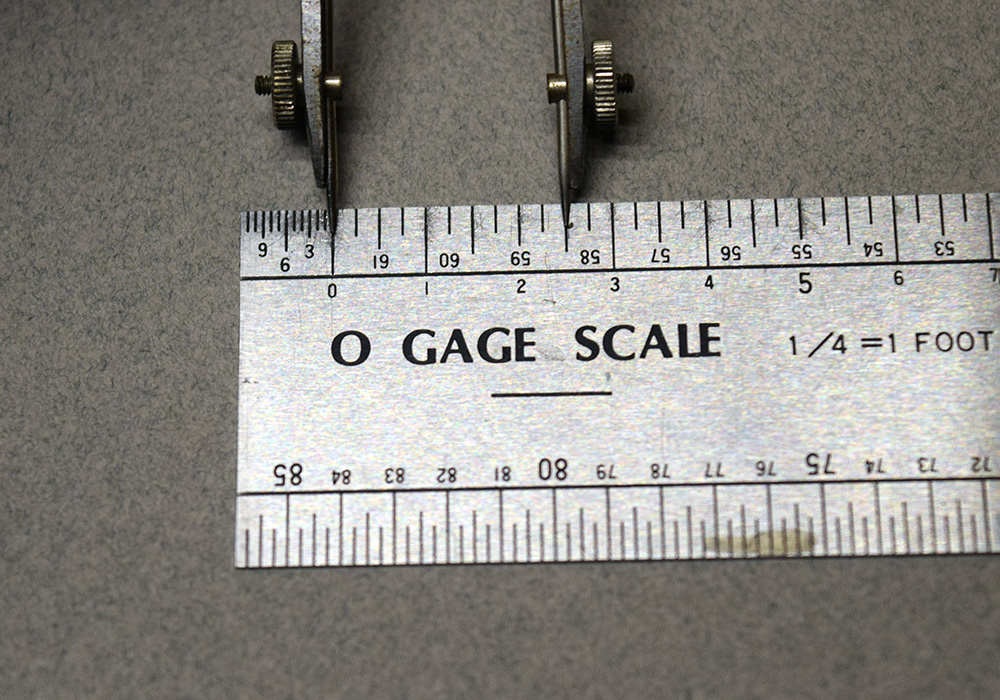
On the mark. The small dividers use a threaded mechanism that allows for precise settings. The pointed tips are easy to locate exactly where I want them (photo above). I can set them with the rule and transfer that dimension to the stock for scribing the lines (below). The black coating from a marker make the scribe marks easier to see. If needed I can clean it off with denatured alcohol and a paper towel.

Small, simple steps provide real benefits.
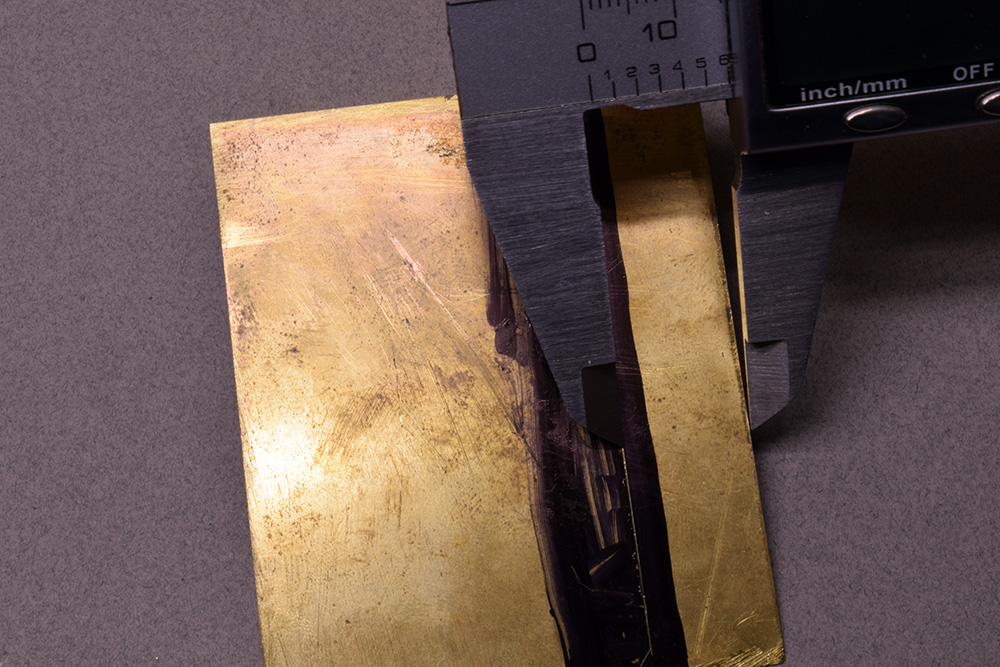
Straight and parallel made easy. As long as the reference edge is true, calipers are good for marking parallel lines.
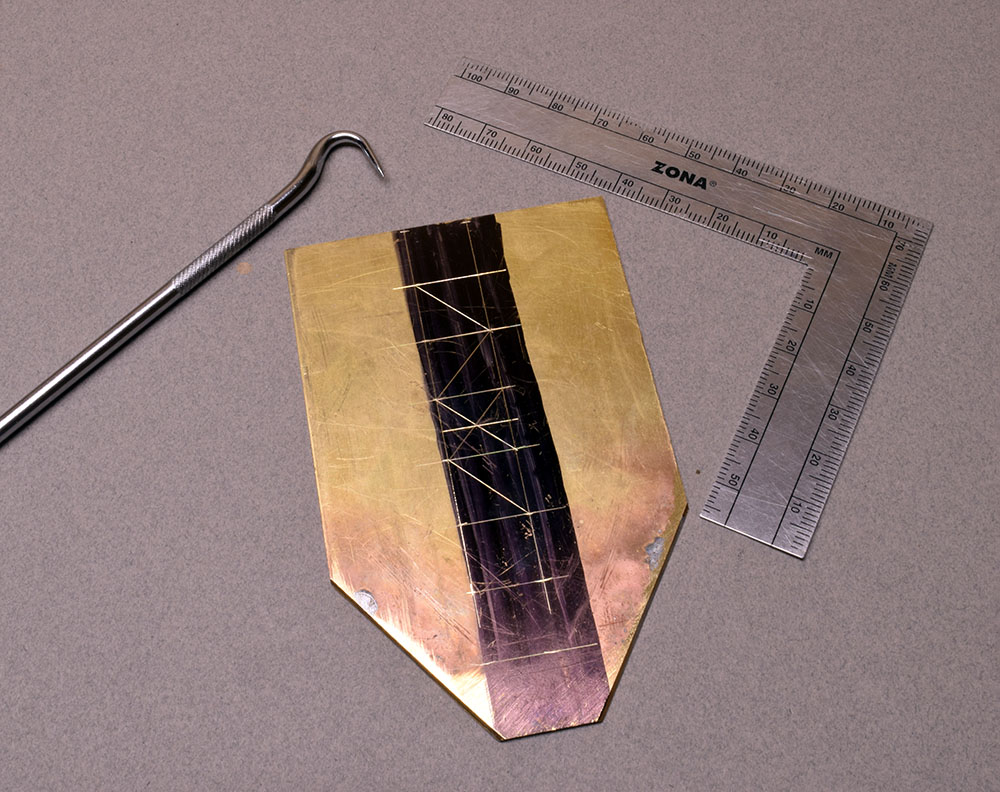
One tool for the job. This scriber is my tool of choice. Learning and mastering one tool for a task produces consistent results.
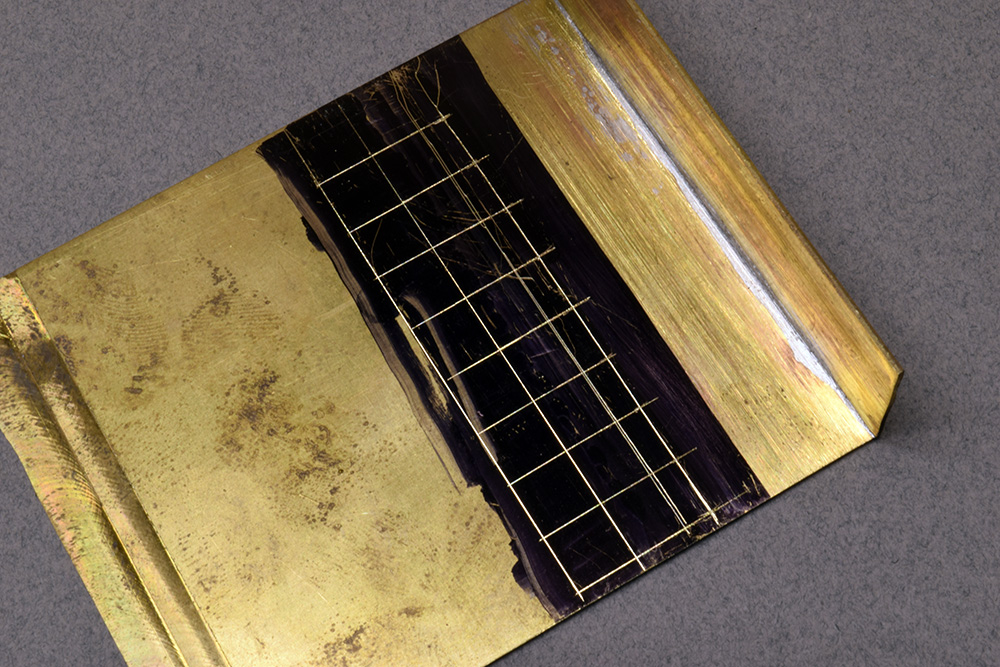
Practice will eventually make perfect. While a few lines wander ever so slightly past the ending line on the left, learning how to make precise lines where you want them is the entire point of an exercise like this.
These are small, simple, even basic steps that provide real benefits. All it takes is the willingness and discipline to do them and the humility to admit that my own behavior is the real source of the problems.
Regards,
Mike
“Learning and mastering one tool for a task produces consistent results.”
That answers your previous post, Mike. None of us were born with a fully formed set of model making skills: we all had to learn about using the right tool for the job – sometimes that varies with materials.
It is as true of these skills as any others: some people will pick them up very quickly, and some will always have to work very hard, but mastering the right tool is not instant and overnight.
Well said Simon. Math doesn’t come easily to me and I had a hard time understanding the compound angles of the hopper bays. They are different in three dimensions than what a flat drawing shows and that took some head scratching to figure out. I’ve lost count of the number of failed attempts. However in the end, I learned a great deal that will be incorporated into future builds. It’s the only way to grow as a modeler. It’s too bad the generic hobby has lost respect for that truth. As Craig mentioned in his comment on the previous post, this knowledge comes slowly and builds upon itself over time.
Mike