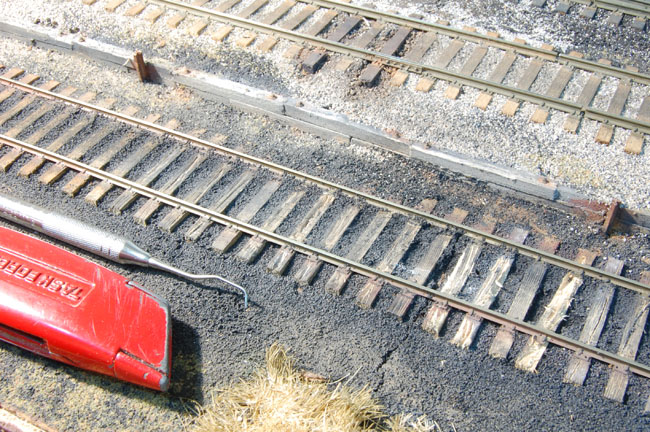
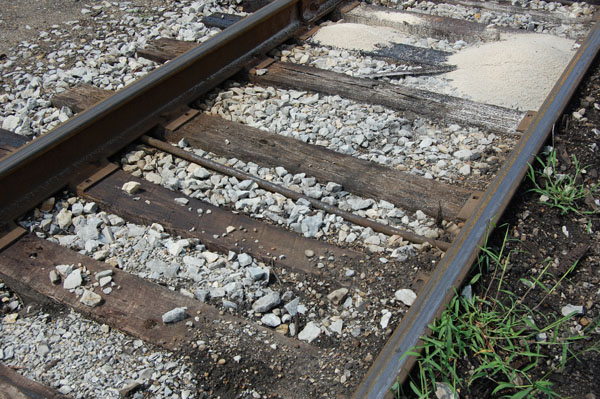
This lowly stretch of track in the foreground was finished, painted, ballasted and considered done for several months, or maybe a year, when I decided to just tear into the ties for additional texturing. I figured, “What the heck? I can fix whatever happens if I don’t like the result.” (Photo 1)
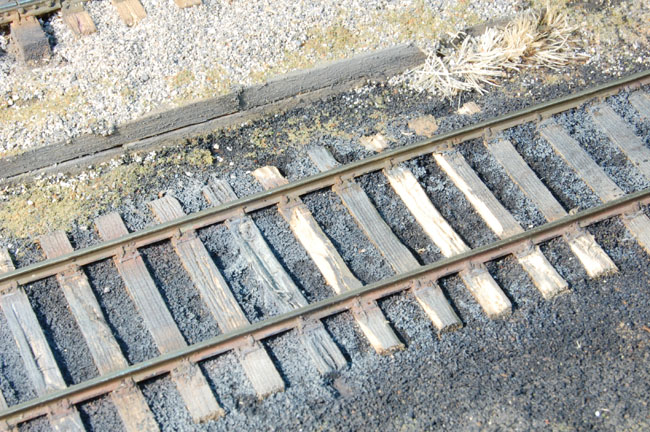
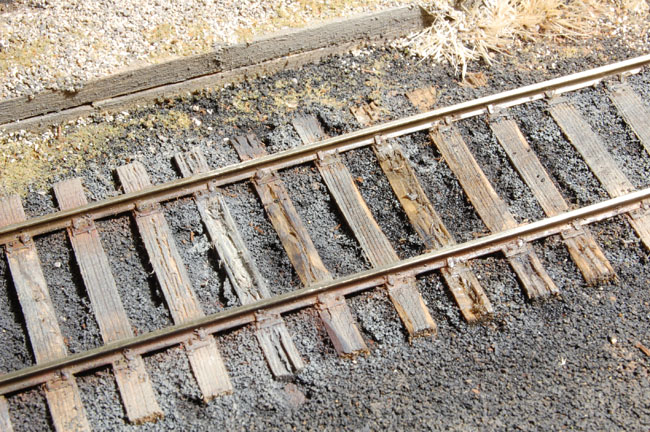
I used the usual assortment of tools as shown below, relying on the dental pick for most of the work. I simply gouged and scraped away to my heart’s content until satisfied with the outcome (Photo 2-3).
Since these ties were to be decayed in the extreme, I washed in several applications of diluted Floquil Grimy Black into the interior cavities I just created. For the outside areas, I wanted that elusive faded, weathered gray look that I’ve never been able to capture to my satisfaction. Because the ties were already stained and weathered, I couldn’t lighten them by the usual methods, so I dusted on applications of gray chalk dust, rubbing it into the grain with an old brush and my fingertip. I also experimented with different shades and colors until happy with the results. (Photo 4). Disclaimer time, I used a color balanced photo flood to light these shots, instead of the normal layout lighting.
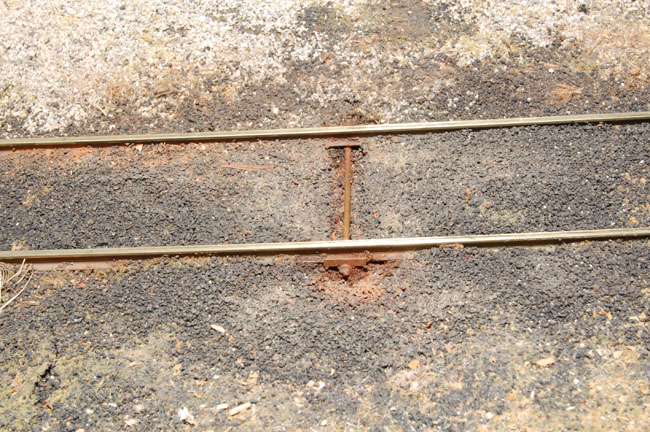
The whole process only took a short time and I’m pleased with how it turned out. In fact, I plan to “rot” out more ties on this siding, as the existing ties really do look too good and clean for such a low priority track. In addition to “rotting out” crossties, I added this gauge rod to the siding (Photo 5). It’s modeled after one I saw at Valley Jct. , which is little more than a length of iron rod with some clamps (Photo 6). Because the vertical transition curve at the bottom of the grade on the siding was a bit sharp, I knocked several ties loose when I sanded them down. Figuring it would be more trouble to replace these ties, I just left them out, laid the rails and filled the gap with cinders. All well and good, until I saw this detail, and thought: “Aha, an opportunity for a little more eye candy.”
For the model, I used some styrene rod (0.040″ I think) and angle to eliminate worries about electrical shorts. I just gouged out a trench in the ballast and used CA to attach the pieces to the bottoms of the rails. A pair of NBW casting on each end of the rod finished it off. Painting and rust effects consisted of Floquil Rail Brown for a base coat, followed by a dusting of rust colored chalk dust into the wet paint. This siding still needs joint bars scattered along its length but at present, no one to my knowledge makes them for code 100 rail in O Scale. The overall coloring still needs tweaking and there is no end to the amount of detail that could be included, like trash, additional weeds and so on. I love projects like this, where I can leisurely nibble away at something. Too much fun.
09-25-2011, Correction:
Oops! I have to correct a statement in this post. I learned that Right-O-Way does indeed make joint bars for code 100 rail (part number CJ10). Also Grandt Line may be another source for them too. Just color my face that lovely shade of embarrassing red.
Regards,
Mike

0 Comments