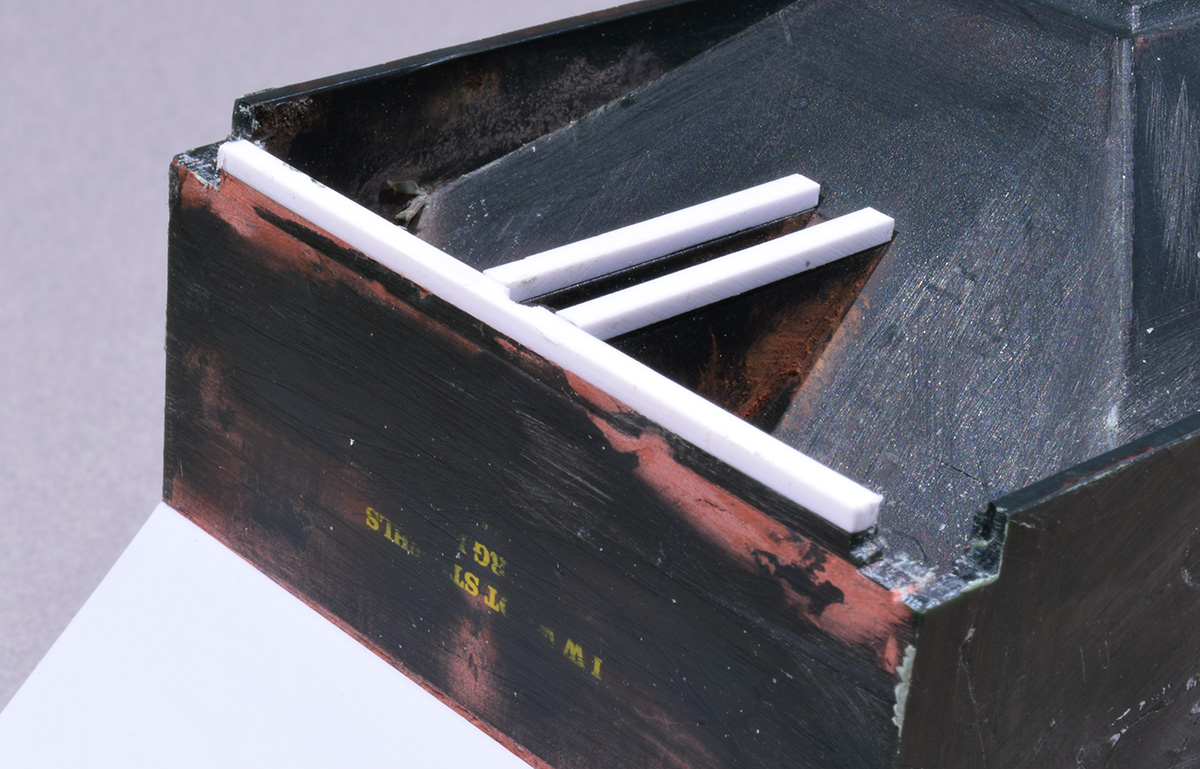
I have removed everything there is to remove from the Lionel car body. The last step I did was to mill away a small portion of each corner. On the full-size cars, you can see a quarter round opening at the lower corner of the vertical end sheets where they butt into the sides. I don’t know what purpose these openings serve but, since they are clearly visible, I want them on the model. With that done, it’s finally time to start putting details back.

I milled away the corners on each end of the car to provide an air space behind the notches in the lower corners of the vertical end sheet.
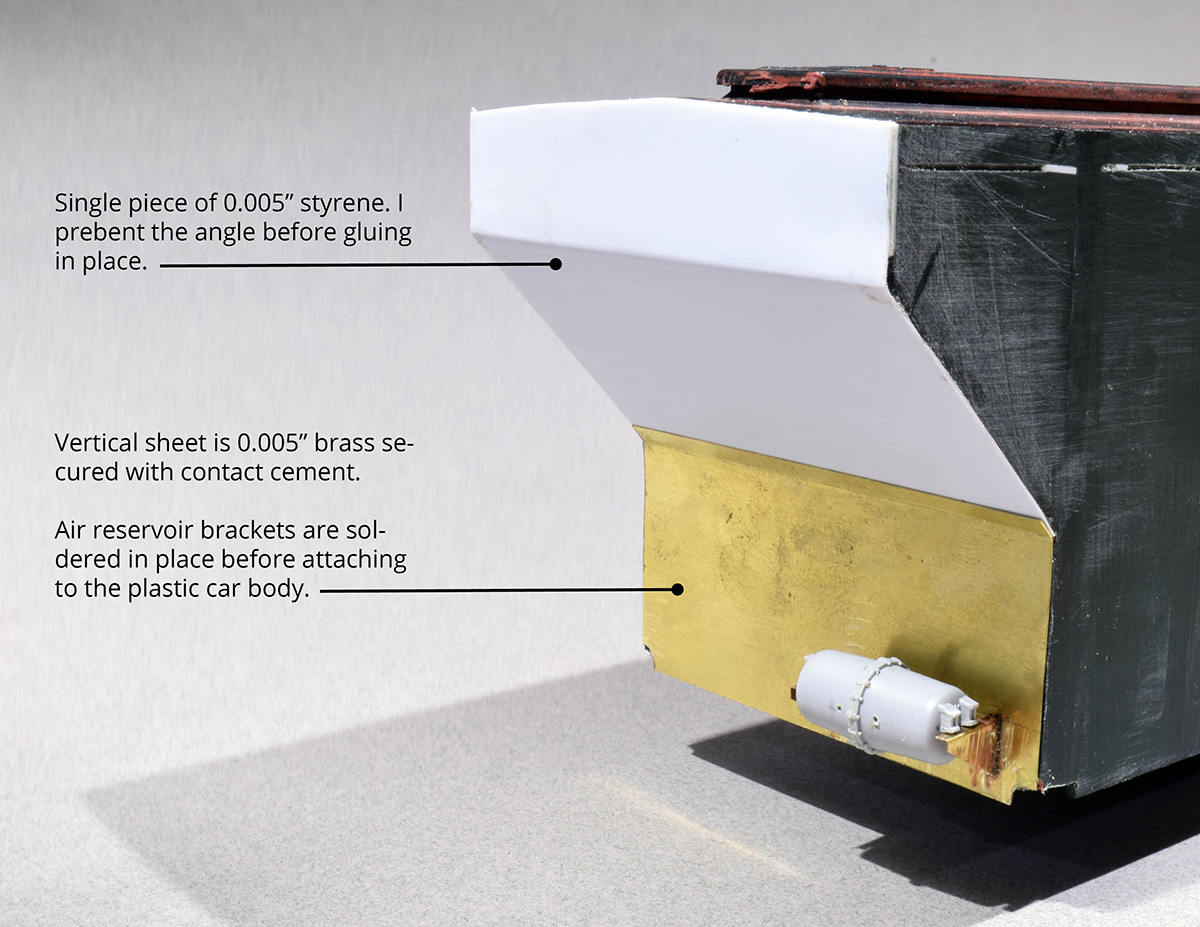
I began the end panels by gluing a piece of 0.005” styrene for the slope sheet. This is a single piece that wraps around the 45-degree bend of the end panel at the top of the car. I considered using brass here but it didn’t seem warranted. The styrene is attached with Tamiya liquid cement. Given the delicate nature of thin styrene, I brushed it on in small sections and let most of the solvent vapors flash off before bringing the styrene sheet in contact. This seems to work well as I haven’t seen any distortion (yet).
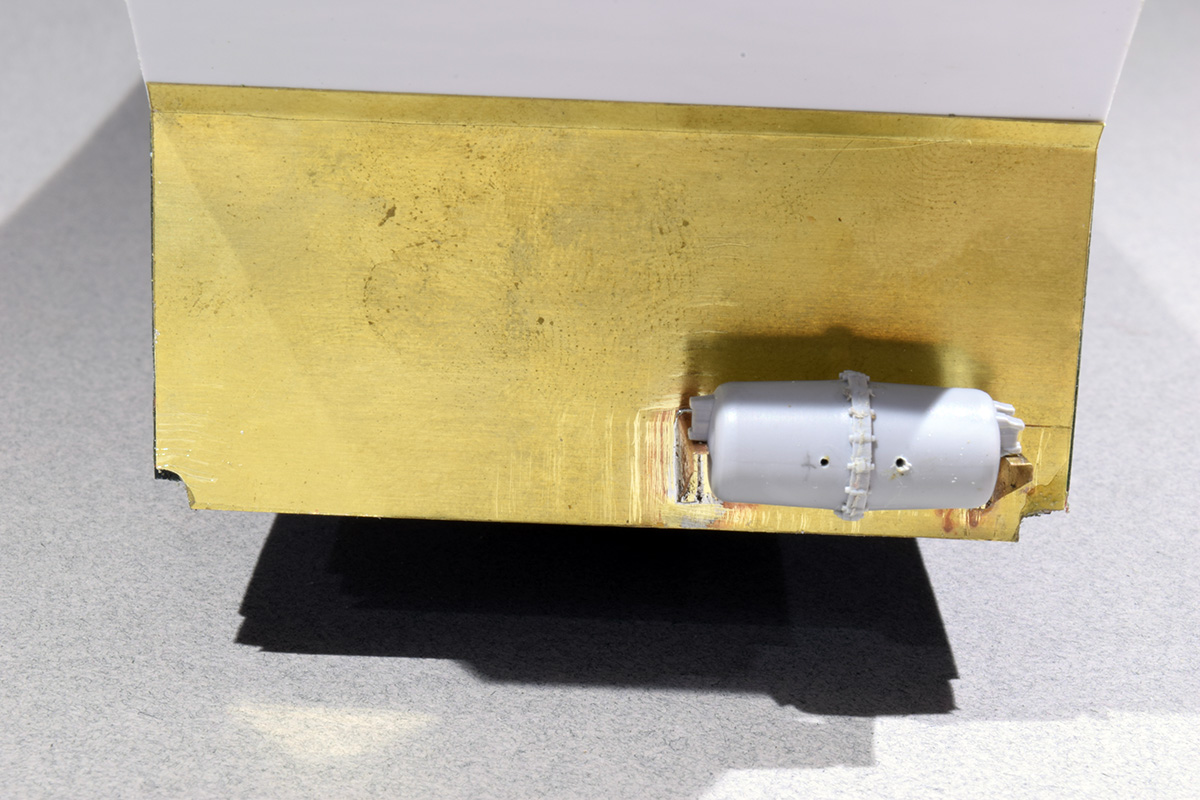
I did use 0.005” brass for the lower vertical end panel, mainly so I could solder the brackets for the air reservoir on the B end. In addition to using CA to attach the air tank to the brackets, I’m also using pieces of brass wire as pins for a mechanical connection. Once the end cage assembly is attached the brake components will be inaccessible, so I’m taking great pains to secure them in place.


These notches are on the full-size car, so they need to be on the model in my view. I see I could have done a better job of shaping the one on the right. It’s a lesson I’ll live with and learn from.
I used contact cement to attach this sheet to the car body. The plastic of the car body is quite hard, so I’m not too worried about damage from the contact cement. I did a series of experiments with scrap material to refine my technique. The best results came from the traditional method of coating both surfaces and letting the cement dry until it’s slightly tacky. By this time, most of the solvent vapors have gassed off. Of course, this means I only get one chance to join the pieces accurately. To increase the odds of success, I check and double-check the fit and position of each panel. On larger pieces, I plan to use a slip-sheet of paper between the two surfaces that will allow me to adjust their position before making the final contact. So far, so good but I’ll be happy when the rest of the panels are properly aligned and in place.
With each new piece and detail, this lump of plastic is beginning to resemble a covered hopper car again. I can already see that the reward will be worth the effort.
Regards,
Mike
Very interesting build, Mike.
I especially liked your method of using the Tamiya liquid cement on the styrene.
Please continue posting this type of valuable information. Thank you so much.
Hi Mike,
Glad you enjoyed the post and thanks for letting me know what you found of value in it. That helps me select topics or to know what to emphasize.
Regards,
Mike