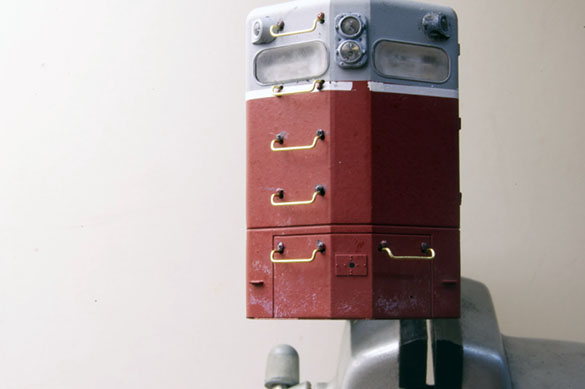
Work continues on I&W #38. I added the bolt heads for all the grab irons and I’m pleased with how much they add to the appearance. However, small pieces like these get lost easily and I was concerned about that aspect of working with them.
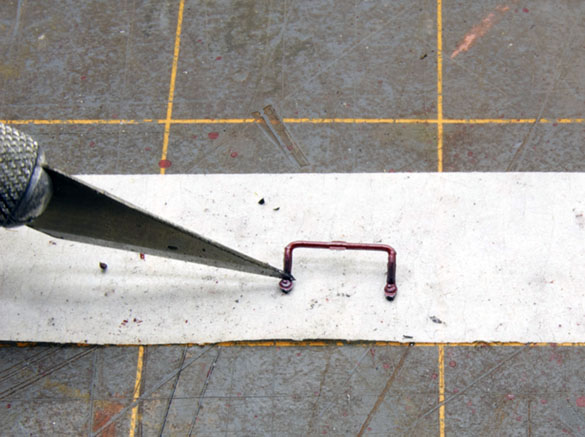
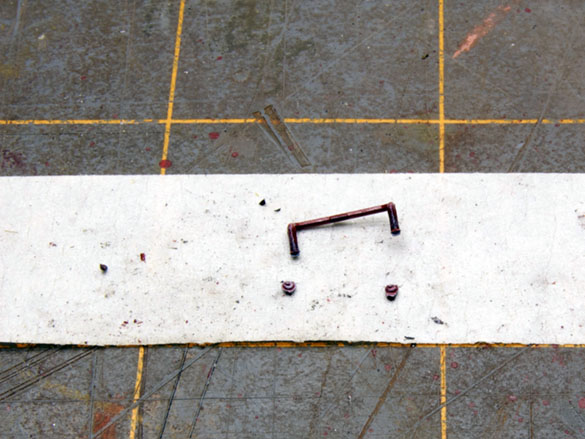
I had an idea of placing a piece of masking tape, sticky side up on the bench to hold the tiny bits in place as I cut them off the plastic grab irons with a #11 X-acto blade. This worked and I didn’t lose a one. I didn’t originate this idea but likely read it somewhere and filed it away in memory.
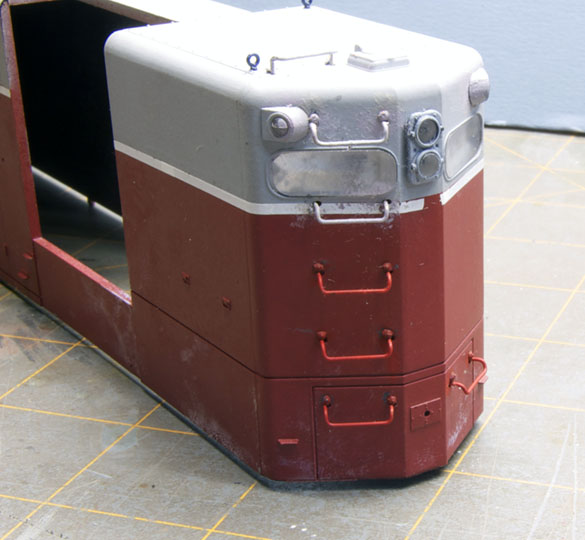
Transferring them to the model went smoothly as only a couple slipped out of the tweezers. I had enough for a few mistakes and fortunately didn’t lose too many. A spot of styrene cement locked them in place and the finished grabs painted up nicely. The slight mismatch in color will be addressed during the weathering.
Mistakes made and lessons learned
Fitting the lift rings on the roof was simple yet re-taught me a valuable lesson. As you can see below, I turned the openings toward the side, never giving the orientation a second thought. A few holes had to be cleaned out with a drill bit and even with that done, some of the rings didn’t seat properly. You’ll also notice the blue rings (from a different parts sprue) aren’t the best castings compared to the others.
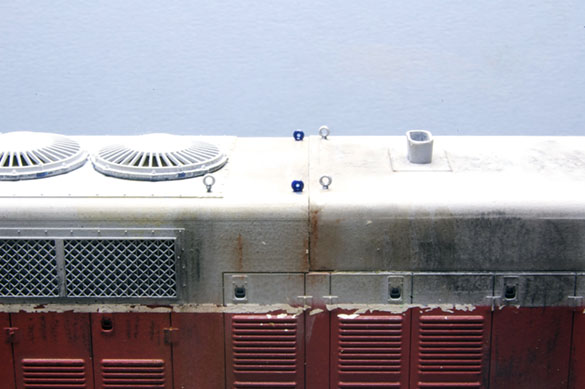
I was tired and ready to call it a day yet felt good about the progress made, until I looked at the instruction sheet and saw the orientation of the rings was different. Of course, I glued them, and as I counted the remaining rings on the sprue, I’d be two short if I redid them, so I decided to just let it go, but the mistake bothered me. I checked my diesel photo files and saw examples of lift rings facing both ways. Trouble is these were modern units and contemporary practice may not be accurate for first generation power.
I dug out my photos of the Indiana & Ohio’s loco and, sure enough, the rings faced the long dimension. That settled it, I had to change the model. Luckily, all but three of the rings came out undamaged, being more of a friction fit than glued, so I had plenty after all. I enlarged the holes for a better fit and things turned out well. As usual, I spent more time mentally fussing over the situation than actually fixing the problem. They do look better and I’m glad I did it right instead of settling for a mediocre result. The lesson? Check your prototype. Barring that, at least read the instructions.

Modeling with photos
Tony Sissons, a friend in North Carolina, is a fine diesel modeler in HO. He uses close-up photography to double check his work and as a way to improve his techniques. (Check out his interview in TMC Vol.04.) Looking at these photos, I see things that still need to be done and areas where improvement is called for. It’s shamefully easy to ignore mistakes and poor workmanship and I’m always surprised at how obvious something is in a photo or after a few days away.
Since digital photography is convenient and simple, there’s little excuse not to document a project. The photos don’t have to be publication quality for your own reference and you’ll be surprised by what you see with the fresh viewpoint. I think it’s a practice I’ll employ faithfully from now on.
I have just a few other details to add and then it’s on to the chassis and pilot detailing and finally, weathering to bring it all together.
Regards,
Mike
Hi Mike, your gp9 is looking great, but having handled several red caboose gp9s over the years I would recommend ditching the plastic lift rings and replacing them with brass ones. The plastic ones break very easily. Des Plaines or P&D have what you need.
Colin
Thanks Colin. Before you get too generous with the compliments, there’s more to the story coming soon.
Mike