I received an e-mail from a gentleman who purchased a copy of Detailing Track. Nicholas wondered whether or not to file away the inside flange on the stock rails of his scratchbuilt turnouts. He noted that the prototype doesn’t do this, and it seemed from the book photos, that I didn’t either. Yet the instructions that came with his Fast Tracks jig said to file this flange away. He raises a great question, one that I took for granted everyone knew the answer to. I was dead wrong in my assumption, so let’s look into the subject.
Filing away the inside flange on the base of the stock rails at switchpoints is a decades old hobby practice used by manufacturers and scratchbuilders alike. While I’m guessing here, I suspect it simply makes construction easier, in that filing a flat surface on the back of the mating switchpoint is a simple matter. Unless you get sloppy with the file, it doesn’t detract all that much from the finished turnout in terms of the realistic appearance. Conventional wisdom once used this surface area and contact point as part of the electrical path through the turnout, a practice that we now understand has many drawbacks. There are better ways to provide a bullet proof electrical path through a turnout that doesn’t rely on the physical contact between the switchpoint and stock rails.
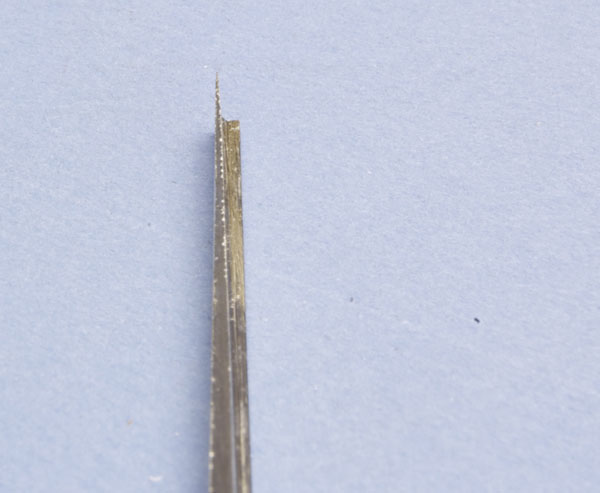
For those who still prefer rock it old school, the process is simplicity itself. You file down the flange at the base of the rail for a distance of several inches until you get even with the web of the rail. This also takes off a portion of the inside rail head, which creates the tapered flat surface and a small notch for the switchpoint to snuggle into. A similar flat area is filed on the inside of the switchpoint along with filing a taper onto the gauge side of the switchpoint rail head. This makes a nice sharp point that most equipment wheels won’t stumble over. I’ve built turnouts from scratch in HO and O scales since I was a teenager, using this process countless times on codes 70, 83 and 100 rails. It’s simple to learn and practice makes perfect, or pretty darn close.
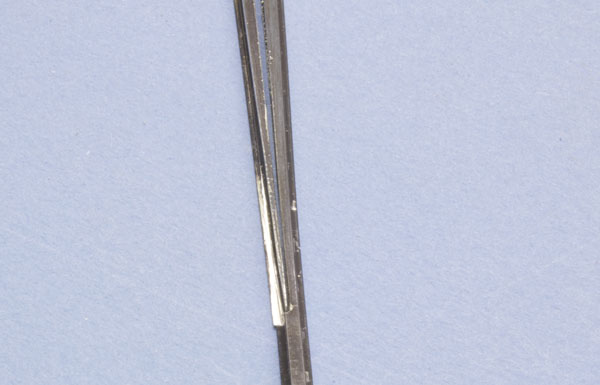
With care and patience, a scratchbuilt switchpoint should snuggle in nicely to the stock rail providing a smooth path for wheels to follow.
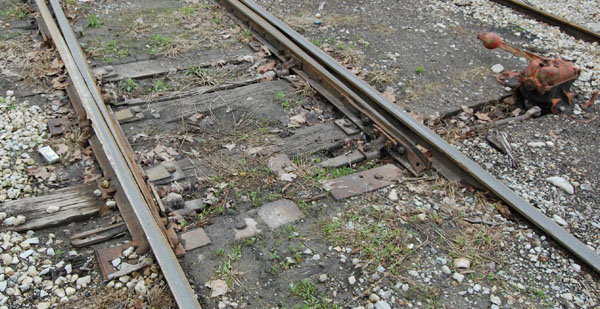
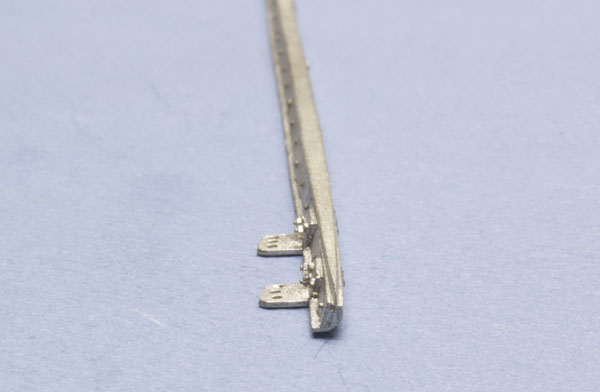
Today, I prefer to use commercial castings from American Switch and Signal for both switchpoints and frogs. The beauty of these is that filing away any flange material on the stock rails isn’t required, since they are designed to fit the profile of the stock rail like the prototype points seen here at Brookville on the I&O.
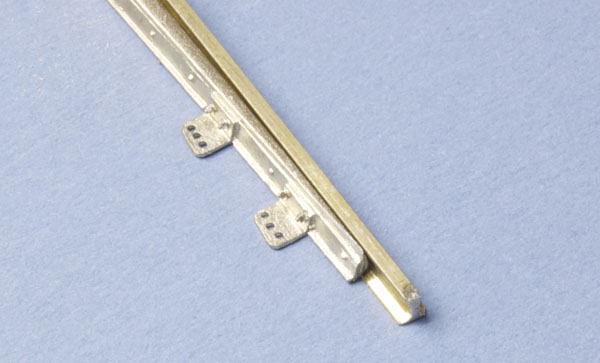
In addition to having a prototypical profile, these castings also include a wealth of detail like the reinforcing bars on both sides, rivet details, the joint bars at the heel where they attach to the closure rails, along with switch and back rod clips.
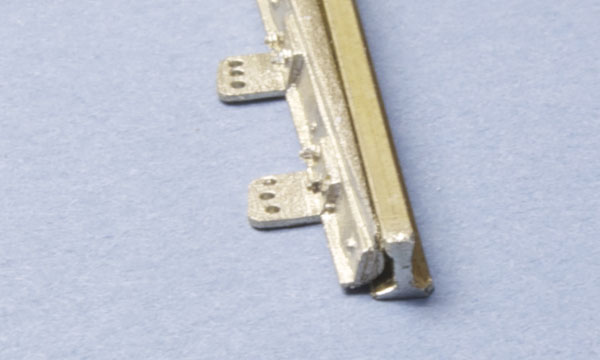
They do require a bit of cleanup to both sides of the end of the tapered rail head. At least I do this on mine, as I prefer a nice clean, sharp edge for a seamless fit and smooth tracking. In the next photo, you can see how they fit around the flange of this piece of code 100 rail without any modification.
Of course you could also file regular rail in a similar fashion by removing the bottom corner on the inside surface, and tapering the top of the rail head just a little, allowing it to fit around the unmodified stock rails. Experimentation and patience is key.
I’m not at all familiar with the Fast Tracks system or jigs except for understanding they are popular with modelers for the predictable results they give. I prefer to use the castings for their ease and superb details. I’m not saying one is better than the other. It depends on what your objectives and resources are.
Any questions, feel free to ask.
Regards,
Mike
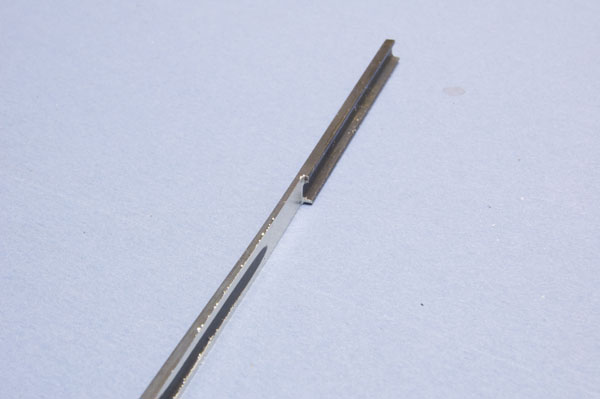
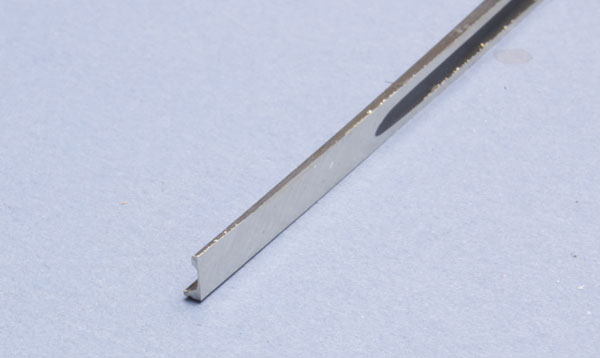
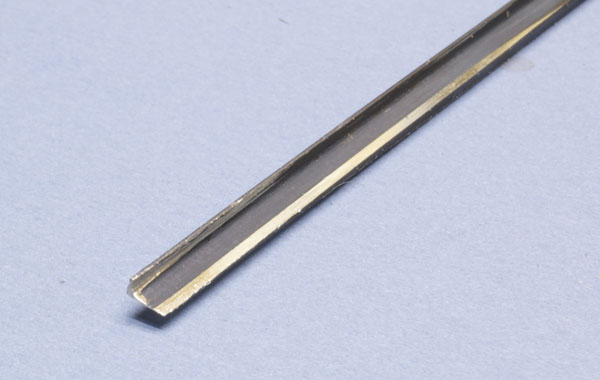
The filed rails are very neat. Did you file them by hand or use a grinding tool?
In the picture of a real switch point I can see the reinforcing bar and another tie with plates beyond it. Does the switch point slide over this one as well as the first? How does the switch point clear the head of the spike and still provide support for the point?
The commercial castings you mentioned come in a few frog angles. Do you ever need to build non-standard angles?
What do you do about more complex arrangements like crossovers, diamonds, curved turnouts, and “Y” turnouts?
Nicholas I presume?
I filed the rails in the photos by hand. It took a bit longer than I’m used to because the code 125 rail is a lot heavier than 70, 83 or 100. I’m glad I don’t have to do that anymore!
I think I understand your question about the real switchpoints. On the prototype there are no spikes on the inside of the stock rail in the area of the switchpoints. The spikes continue further along where there is enough space for them between the point and stock rails. Just like we do with model track.
This is another excellent point.
I have not had a situation on my layout where I needed an odd numbered turnout.
For various reasons, the model railroad literature has conditioned folks to the use of practices that the prototype simply wouldn’t do. On most if not all prototype turnouts the frogs are straight not curved. If you look at my post titled “Flow”, you’ll see two No. 8 turnouts, one conventional and the other in a wye shape. Both use the same frog casting. There isn’t a special frog configured for a wye or curved turnout, at least that I’m aware of. (Having said that, someone will come up with an example.) I have a No.10 crossover that was also built with ordinary No. 10 frog castings. Crossing diamonds do require special consideration, and depending on the crossing angle, may need to be built from scratch.
A word about the American Switch & Signal castings: they are designed with P48 flangeway dimensions in the frog and guardrail castings. The switchpoints can be used for P48 or NMRA 5 foot gauge. But traditional wheels will not work with P48 specs and vice versa.
I hope this helps and a note to everyone, please sign your comments.
Regards,
Mike
Yes. I am Nicholas.
Your comments are well appreciated.
I will be using 5 foot gauge but NMRA wheels for all my work. I am aware of the oversized wheels being sold in this gauge.
Nicholas Geti
For those in the junior scales, you can solder brass bars to the web of the points to reinforce them. .015x.030″ strip works nicely for code 55 rail.
Having said that, in HO, proper points are fiddly, as you cut away so much of the base of the rail it hardly wants to stand up. Working in P87, on future track, I think I will remove the base of the stock rail to simplify making the points. I won’t cut into the head.
Something that is rarely if ever mentioned in the model press concerning the geometry of a prototype turnout, is that the diverging stock rail first angles away from the straight route rather than curves. This forms a “kink” in the diverging rail that the diverging side point tucks behind. If we build our models like this it eliminates the need to notch anything. Stand back away from the turnout on the points end and sight down the diverging rail and you’ll see what I mean. Although I was a real world conductor for a while, I didn’t really pick up on this until I started using items from the Proto 87 Stores. I don’t file stock rails anymore and find it to be less filing doing the points only.
At least on smaller number turnouts on the prototype, the rail and points are straight from the sharp end of the points to the heel.
Ken Thompson
Exactly right Ken. I included this offset on my turnouts. It does make a difference.
Thanks for commenting.
Regards,
Mike