Soldering Small Parts
The knee jerk choice in a post like this is to convey how pleased I am with these pieces, how they weren’t that big of a deal and went together with relative ease. What utter nonsense that would have been, because it minimizes the process of learning I experienced. So, here’s an overview of how these parts came to be.
These bolsters started as quarter-inch square tubing for the center sill and quarter-inch by eighth-inch rectangular tubing for the truck bolster. They were marked out and a half lap notch was cut in each on the mill. So far so good except that I remade them three times (or was it four? I’ve lost count) because I kept cutting one of the notches on the wrong side of the piece. It’s an embarrassing admission for certain but one many of us can relate to.
Drilling Lots of No. 78 Rivet Holes
The mill made this task easier than doing it by hand but was not without a glitch or two. In spite of the care I took some of the holes are off center. I suspect I had too much of the drill bit exposed and it wanted to flex and wander, so I inserted the bit farther into the chuck and changed my technique. This helped but didn’t eliminate the issue entirely. I chalked it up to a novice’s inexperience and to practice more to see if I can find and eliminate the source of the problem.
Opening The Bottom of The Center Sill
Next came opening up the bottom of the center sill. Previous experience with doing this on the mill proved hit or miss. Either the vice wasn’t aligned squarely to the X-Y table or the stock moved, or something I’ve yet to discover, often occurred and a piece would be ruined. Wary of that outcome, I chose the rotary tool and a cutoff disk. This was not my first choice even though it worked.
The brass rivets are from Scale Hardware. At 0.6mm they are crisper than punched or plastic rivets and I love them. They were inserted in the predrilled holes and even though they are a friction fit, I placed the sill in a vice to hold the rivets in place as I cut the shafts off and soldered them from the inside, then cleaned up the surface with a small file. This worked but was tedious to be honest with you. Would I do it again? Yes, without doubt as the end result speaks for itself in my view.

Soldering Thin Sections
The flanges on the sill are 0.010″ thick strips cut from sheet stock a scale five inches wide. They’re soldered to the bottom edge of the tubing after the opening was cut. Everything was pinned in place on the soldering pad and joined with silver solder for strength and resistance to the heat from pieces still to come. Why do it this way?
I’ve used a solid strip across the entire width of the center sill to make the flanges and then milled the bottom opening. This works well and I wanted to use this technique here. Instead I let self-doubt and a pessimistic attitude about the odds of success in doing this have their way. The final result works thanks to a hot iron and plenty of flux but certainly there are other choices I could have made.

I Haven’t Even Gotten To The Finicky Stuff Yet
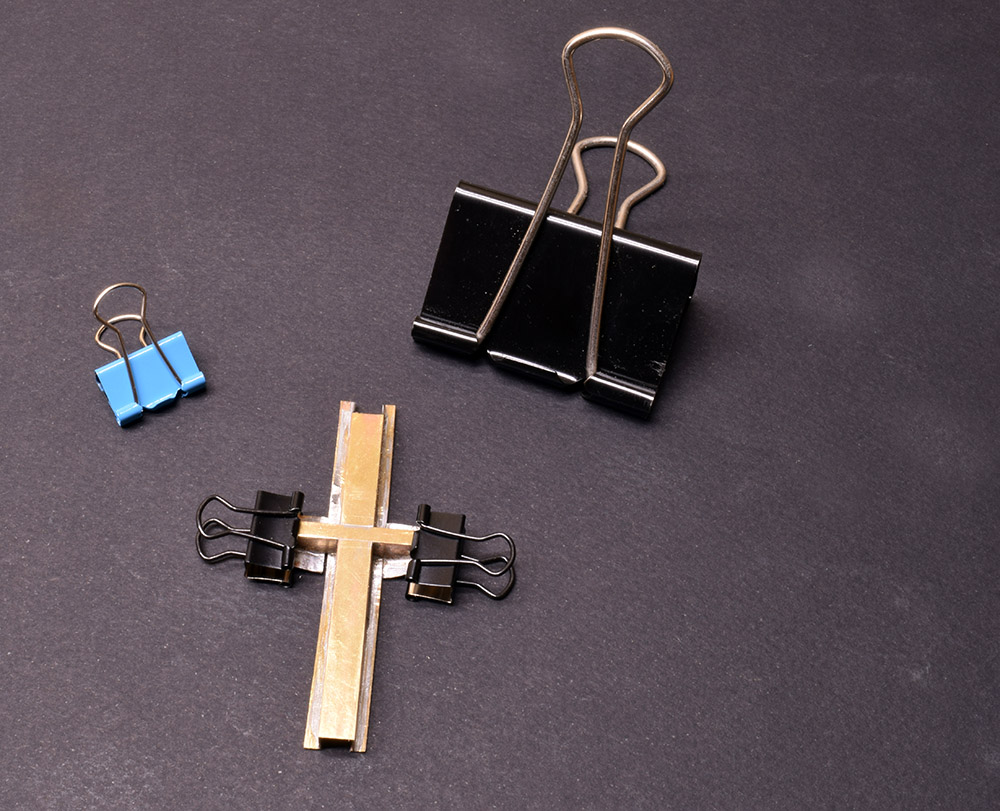
The bottom plates for the truck bolster are also 0.010″ brass. I marked out the overall shape and locations for the offset bends and made them with a pair of smooth jawed pliers. Of course, I had to remake additional pieces for a good result. I purchased a bunch of small spring clips to use as soldering clamps and this worked beautifully.

Now to the fun part: those four oh so tiny braces.
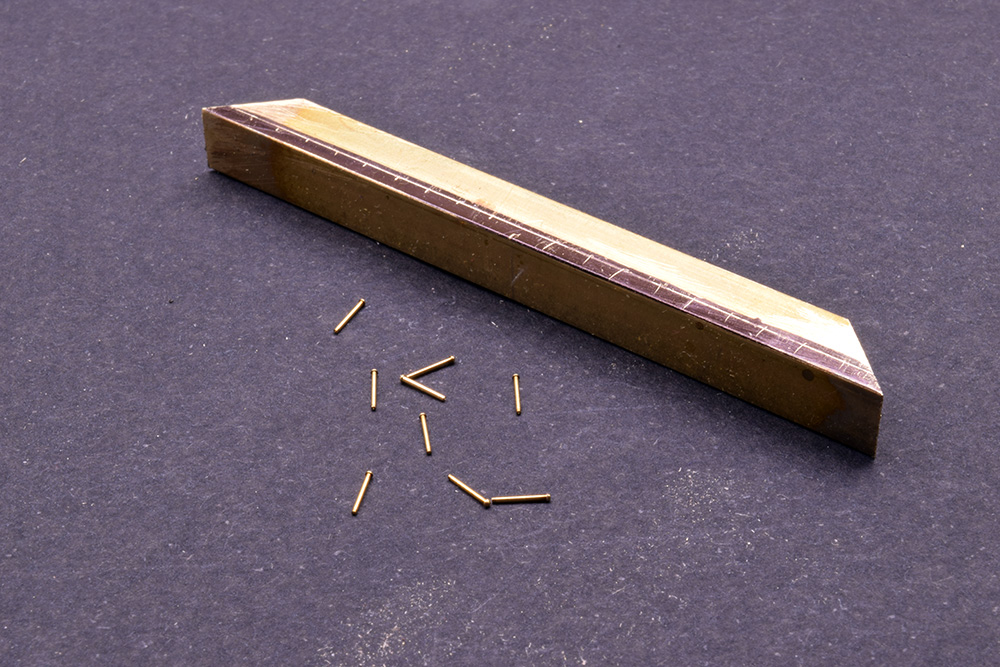
Making them wasn’t the odious task I feared it would be. I scribed a layout line for the angled edge along a length of 1/64″ by 3/32″ brass strip and used a pair of small dividers to mark out the length of each one. Filing the angles then cutting each one to length was the easy part. Honestly!
The first effort at soldering them in place made a mess of things. You would think I had learned my lesson elsewhere on this build but no.
It was the end of the work session and I decided to sleep on the matter. Overnight the idea of using a sacrificial wooden spacer to hold and align the parts for soldering came to mind. (My new goal as a modeler is to come up with these ideas before making the mess and redoing the work.)
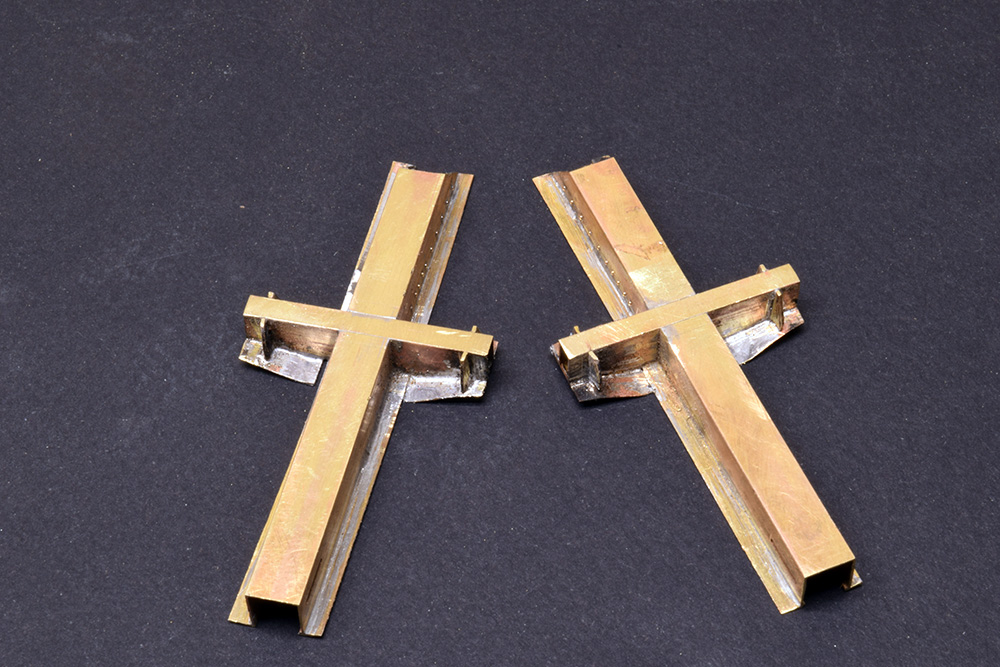
Once again, a small spring clip securely held the wooden spacer as I snugged the upright in place and soldered it home. It mostly worked well but wasn’t without a hitch or thirty.
The overall alignment is good, with the uprights evenly spaced on both sides of the bolster. The vertical alignment is wonky on a couple and that’s my poor technique with the resistance soldering unit. Resistance soldering is a life saver for small parts like these, I just need more practice in using it. Even on the low setting the heat will fry thin brass or at minimum, char the hell out of it if you keep the tip in contact for too long. I needed a total of eight uprights and made 16-18 and used all of them before I was happy with the results.
I knocked two or three of them loose while cleaning up the bolsters and had to resolder them back in place several times. It was frustrating for certain and I found myself getting irritated toward the end. Finally though, the task was completed.
Getting to this point with the bolsters took a week or more of concentrated work in figuring out how to make a part, and remaking it if needed. Work sessions are two hours or so every day in the early afternoon and after dinner. I quit work around seven and the rest of the evening is spent with Susan.
Is this worth the effort? For me, yes it is. It’s the tuition paid to get better at anything. Each component of this build reflects my experience level at the time and I hope to see a progression in quality as the build continues. This isn’t a neurotic pursuit of an unachievable perfection but of discovering my abilities as a model builder and, at this stage, my desire far exceeds my ability. Each component is a practice exercise in its own right that teaches me what works and more often, what doesn’t.
Regards,
Mike
Thanks for the details about your techniques. Working with brass is a task I need to conquer myself, so these posts are definitely helpful.
Thanks Greg. I truly appreciate knowing that. -Mike
Hi Mike
Before drilling, I mark the spots with a fine marking pen, and use a hole punch and 1 tap with a hammer. This gives me a small indentation, and no drill wander.
Hi Terry,
Thanks for the tip, I’ll give it a try. I only extended the bit from the chuck slightly more than the material thickness and brought the tip down until I made contact, then turned the machine on. This worked but I still had minor errors. It’s all a learning process isn’t it?
Mike
Excellent technique, Mike. Soldering is one skill I haven’t tackled (yet). But I understand how some tasks can be tedious. This can turn some folks off when it comes to scratch building. I find it almost therapeutic! Thanks for sharing your story!
Pete
Pete,
It’s an ongoing exploration of material prep, solder, flux, and tools along with the right techniques. The end cages are where the fun will really start. -Mike